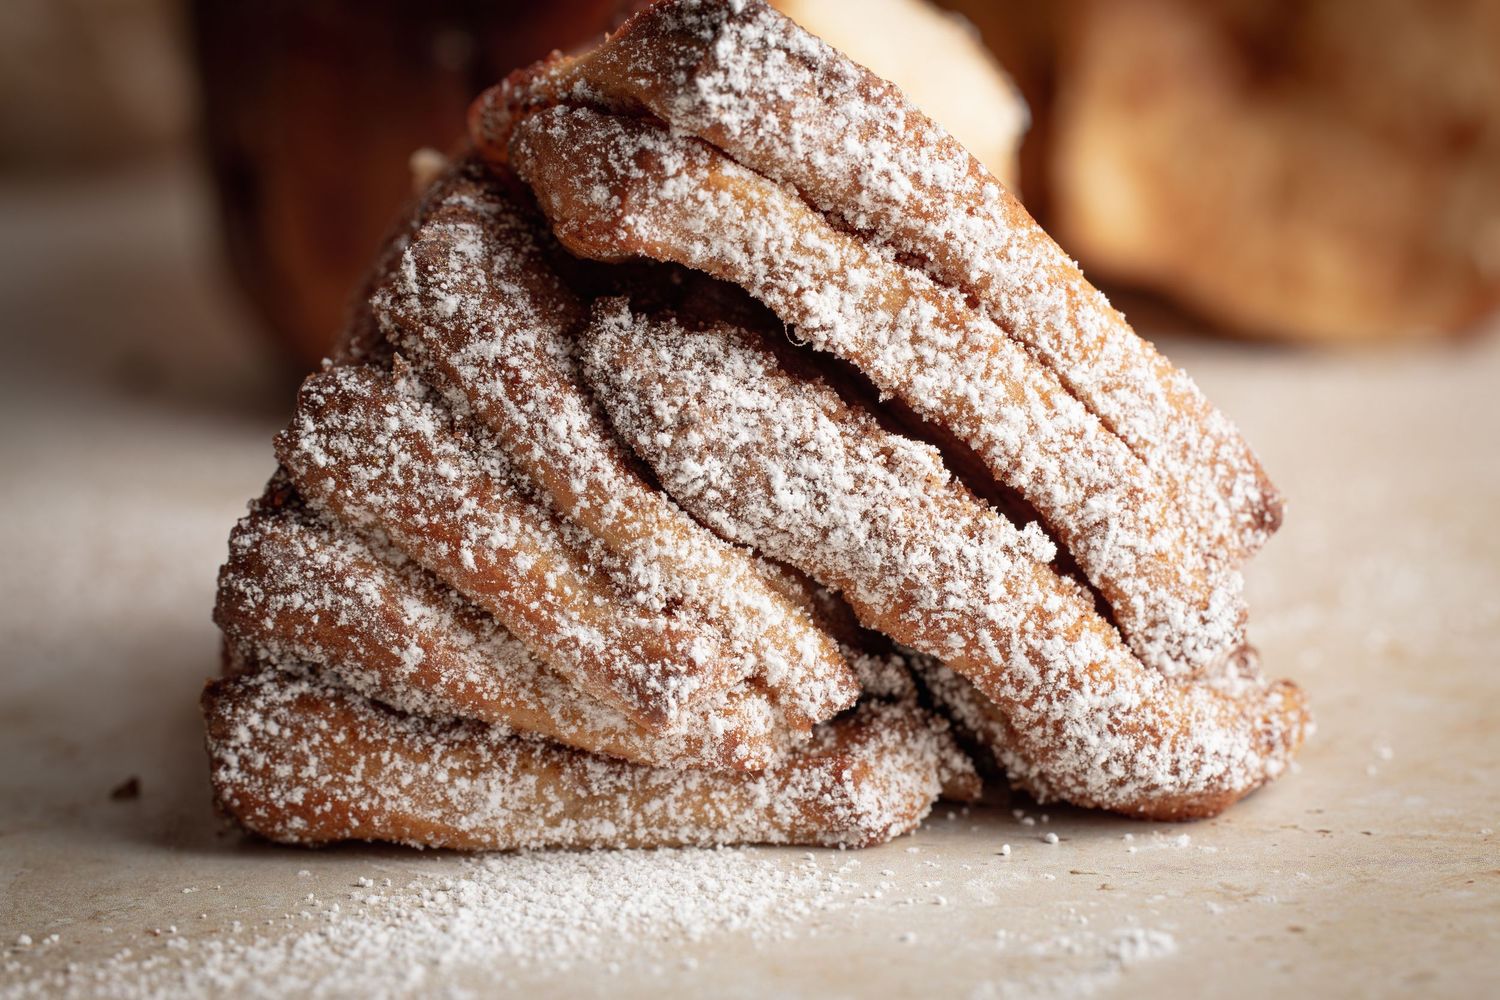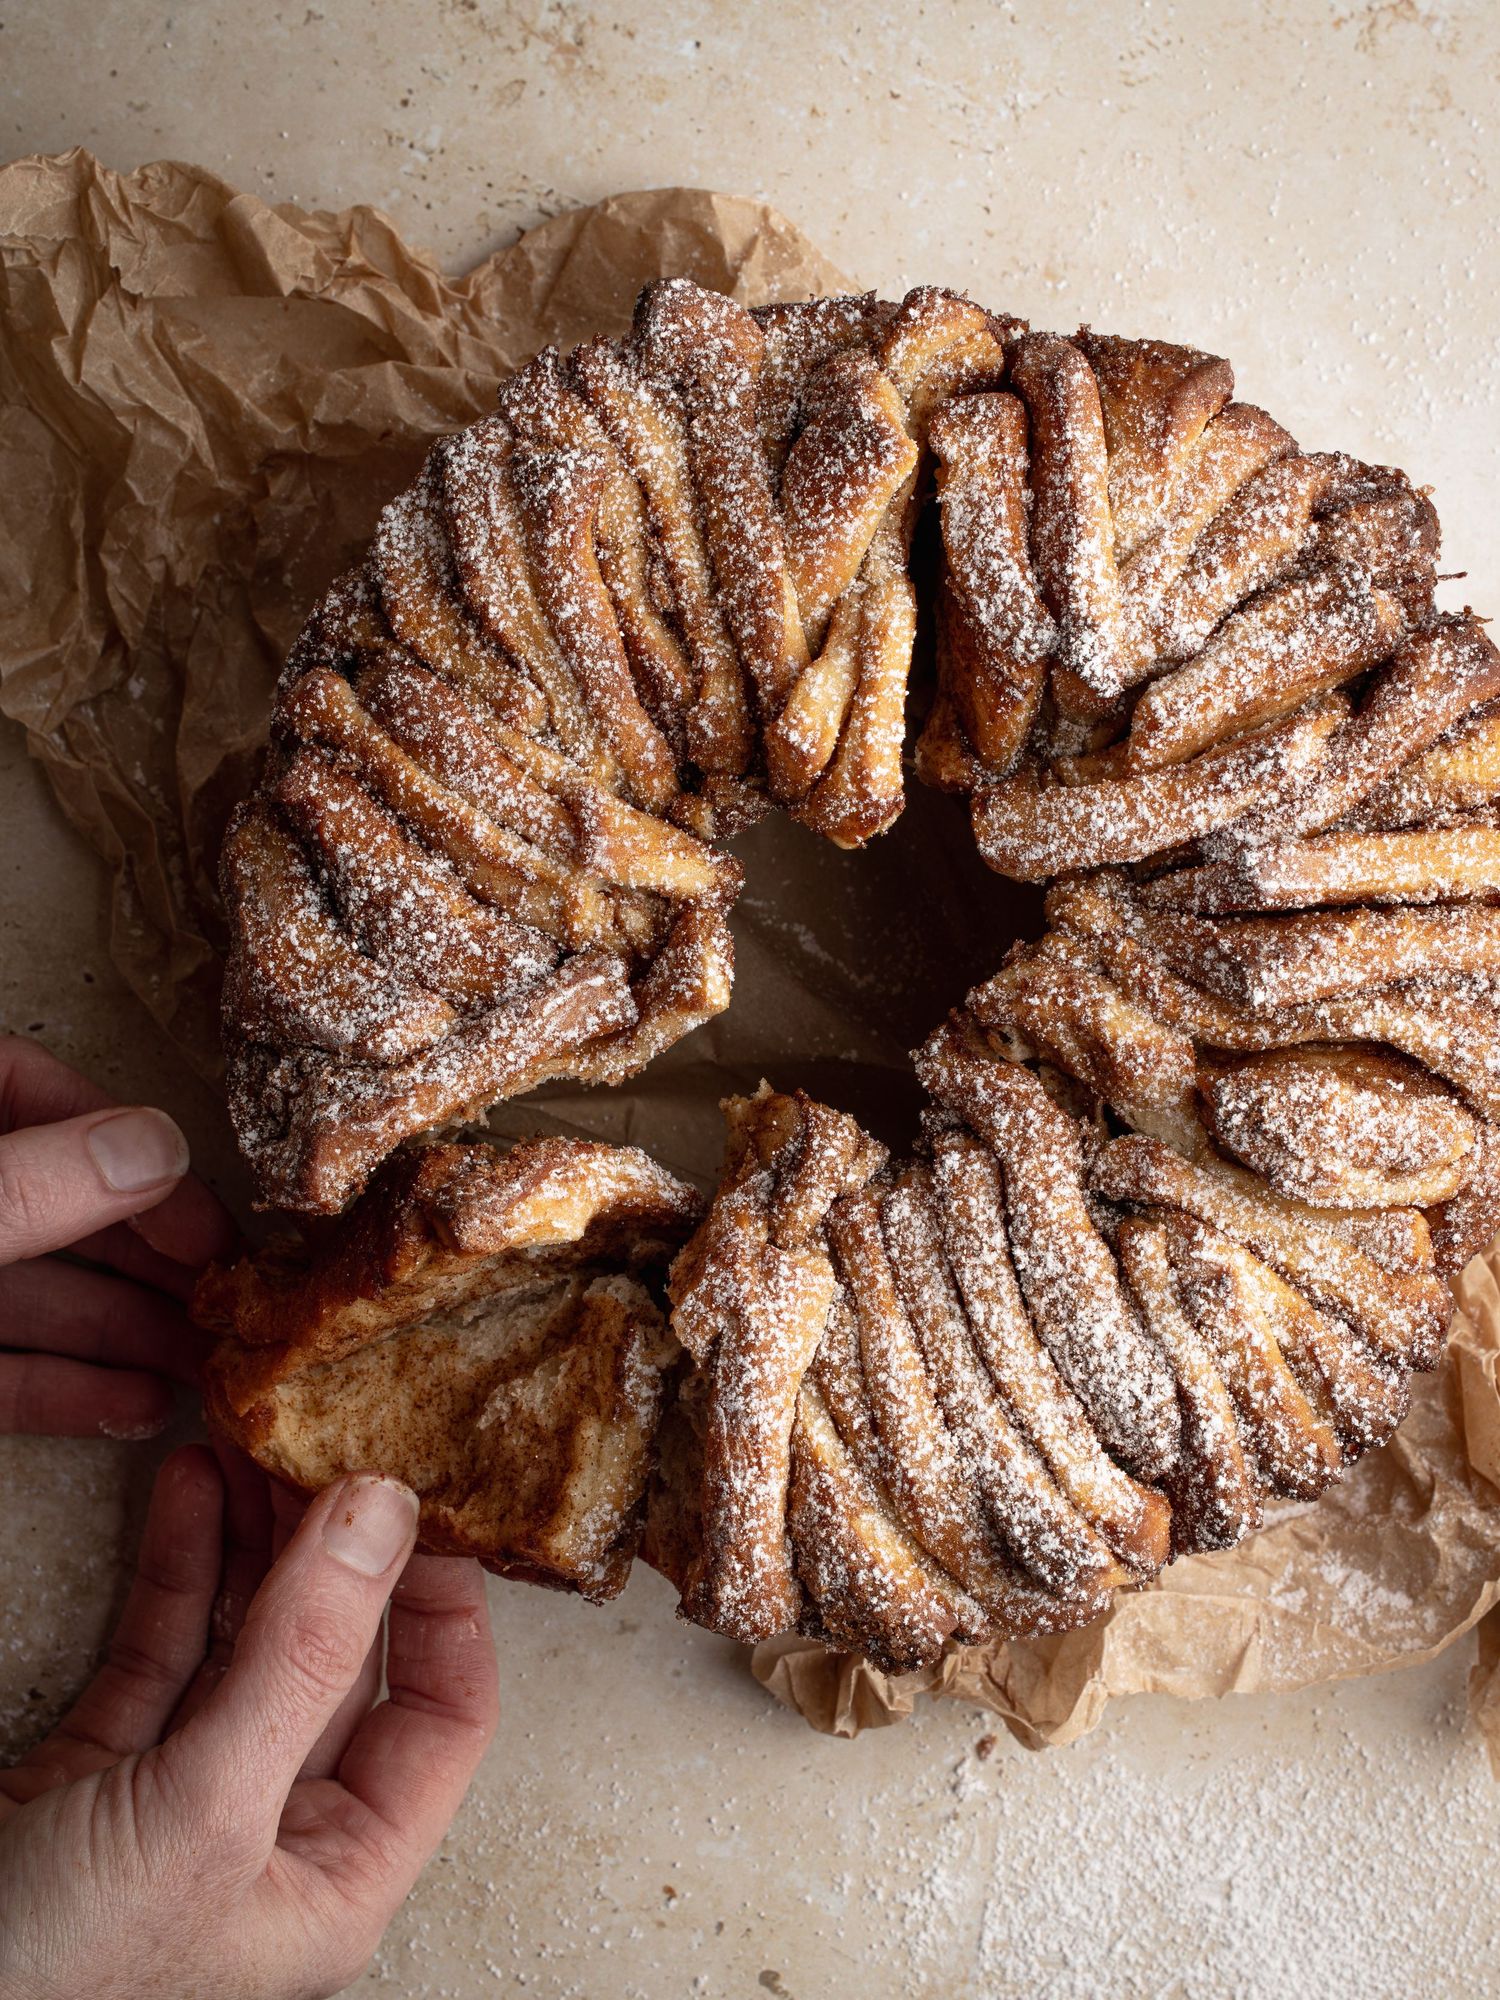
Warm, cinnamon-scented slices of soft, sweet bread come together to make this beautiful tear-and-share loaf, the kind that disappears one piece at a time. The crumb stays wonderfully tender, while the edges bake into a lightly caramelised, sugary crust that’s impossible to resist. It’s the perfect bake to set in the middle of the table and let everyone pull apart. Serve warm for brunch or a relaxed afternoon treat.
Feast-worthy home baking.
This tear-and-share loaf is ideal for feeding a crowd and brings plenty of wow-factor to the table, with far less effort than you might expect. It looks impressive, but the process is wonderfully straightforward.
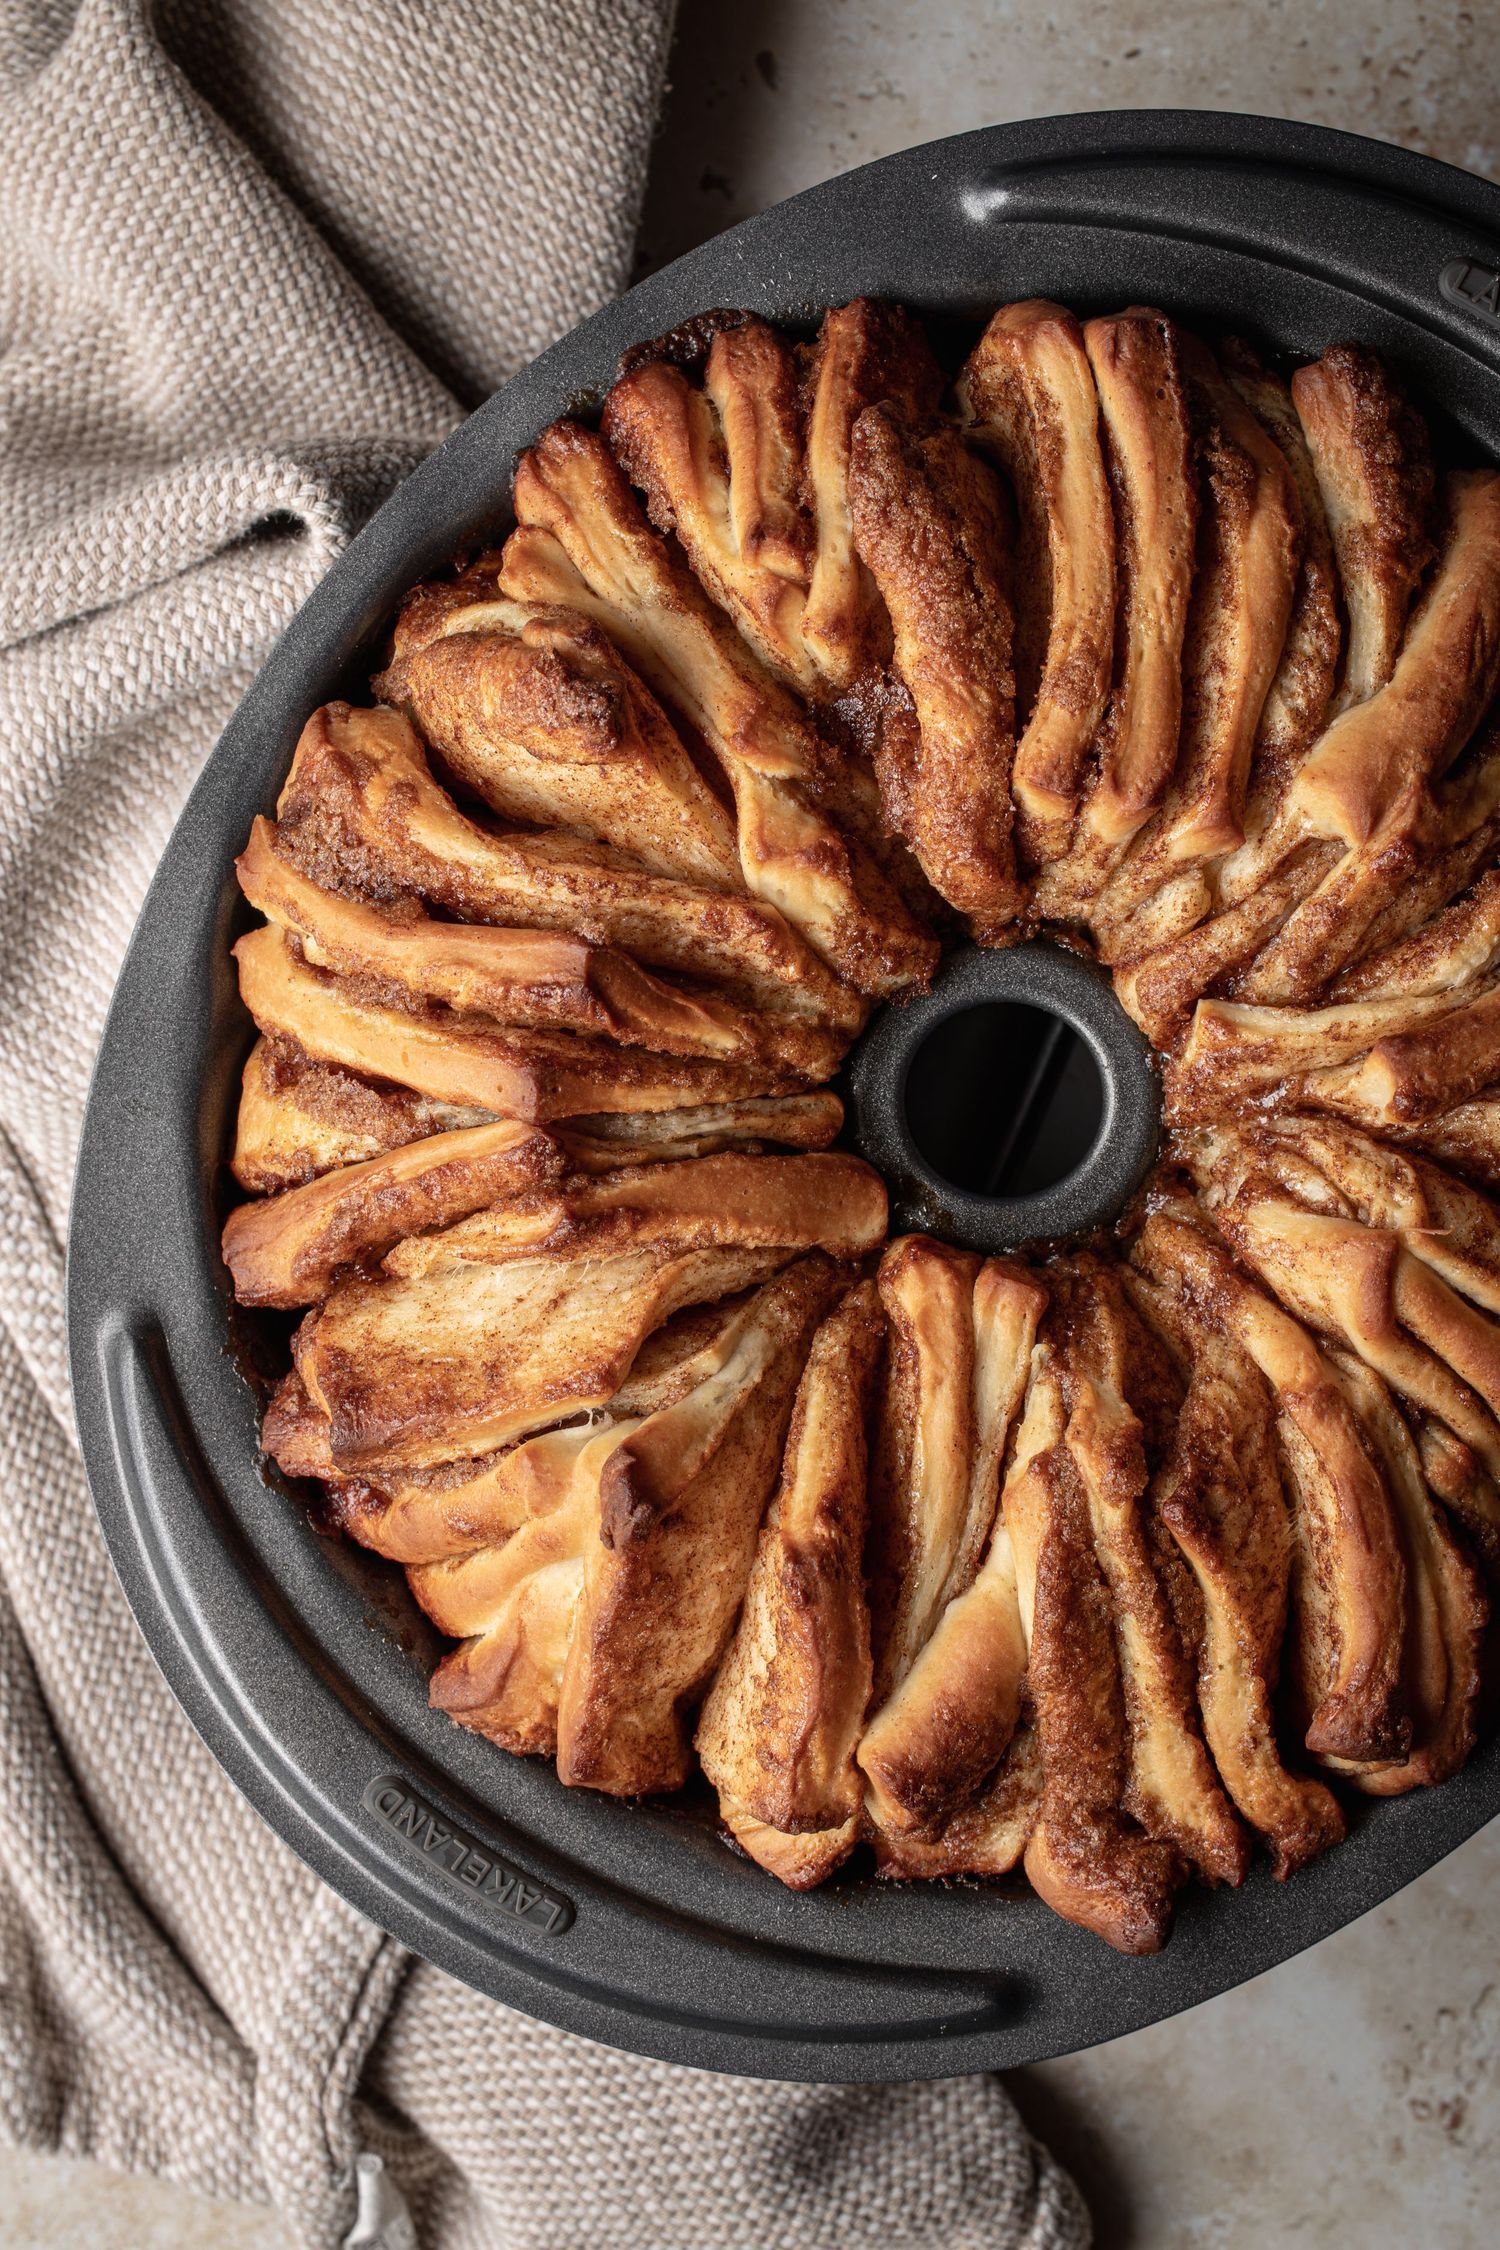
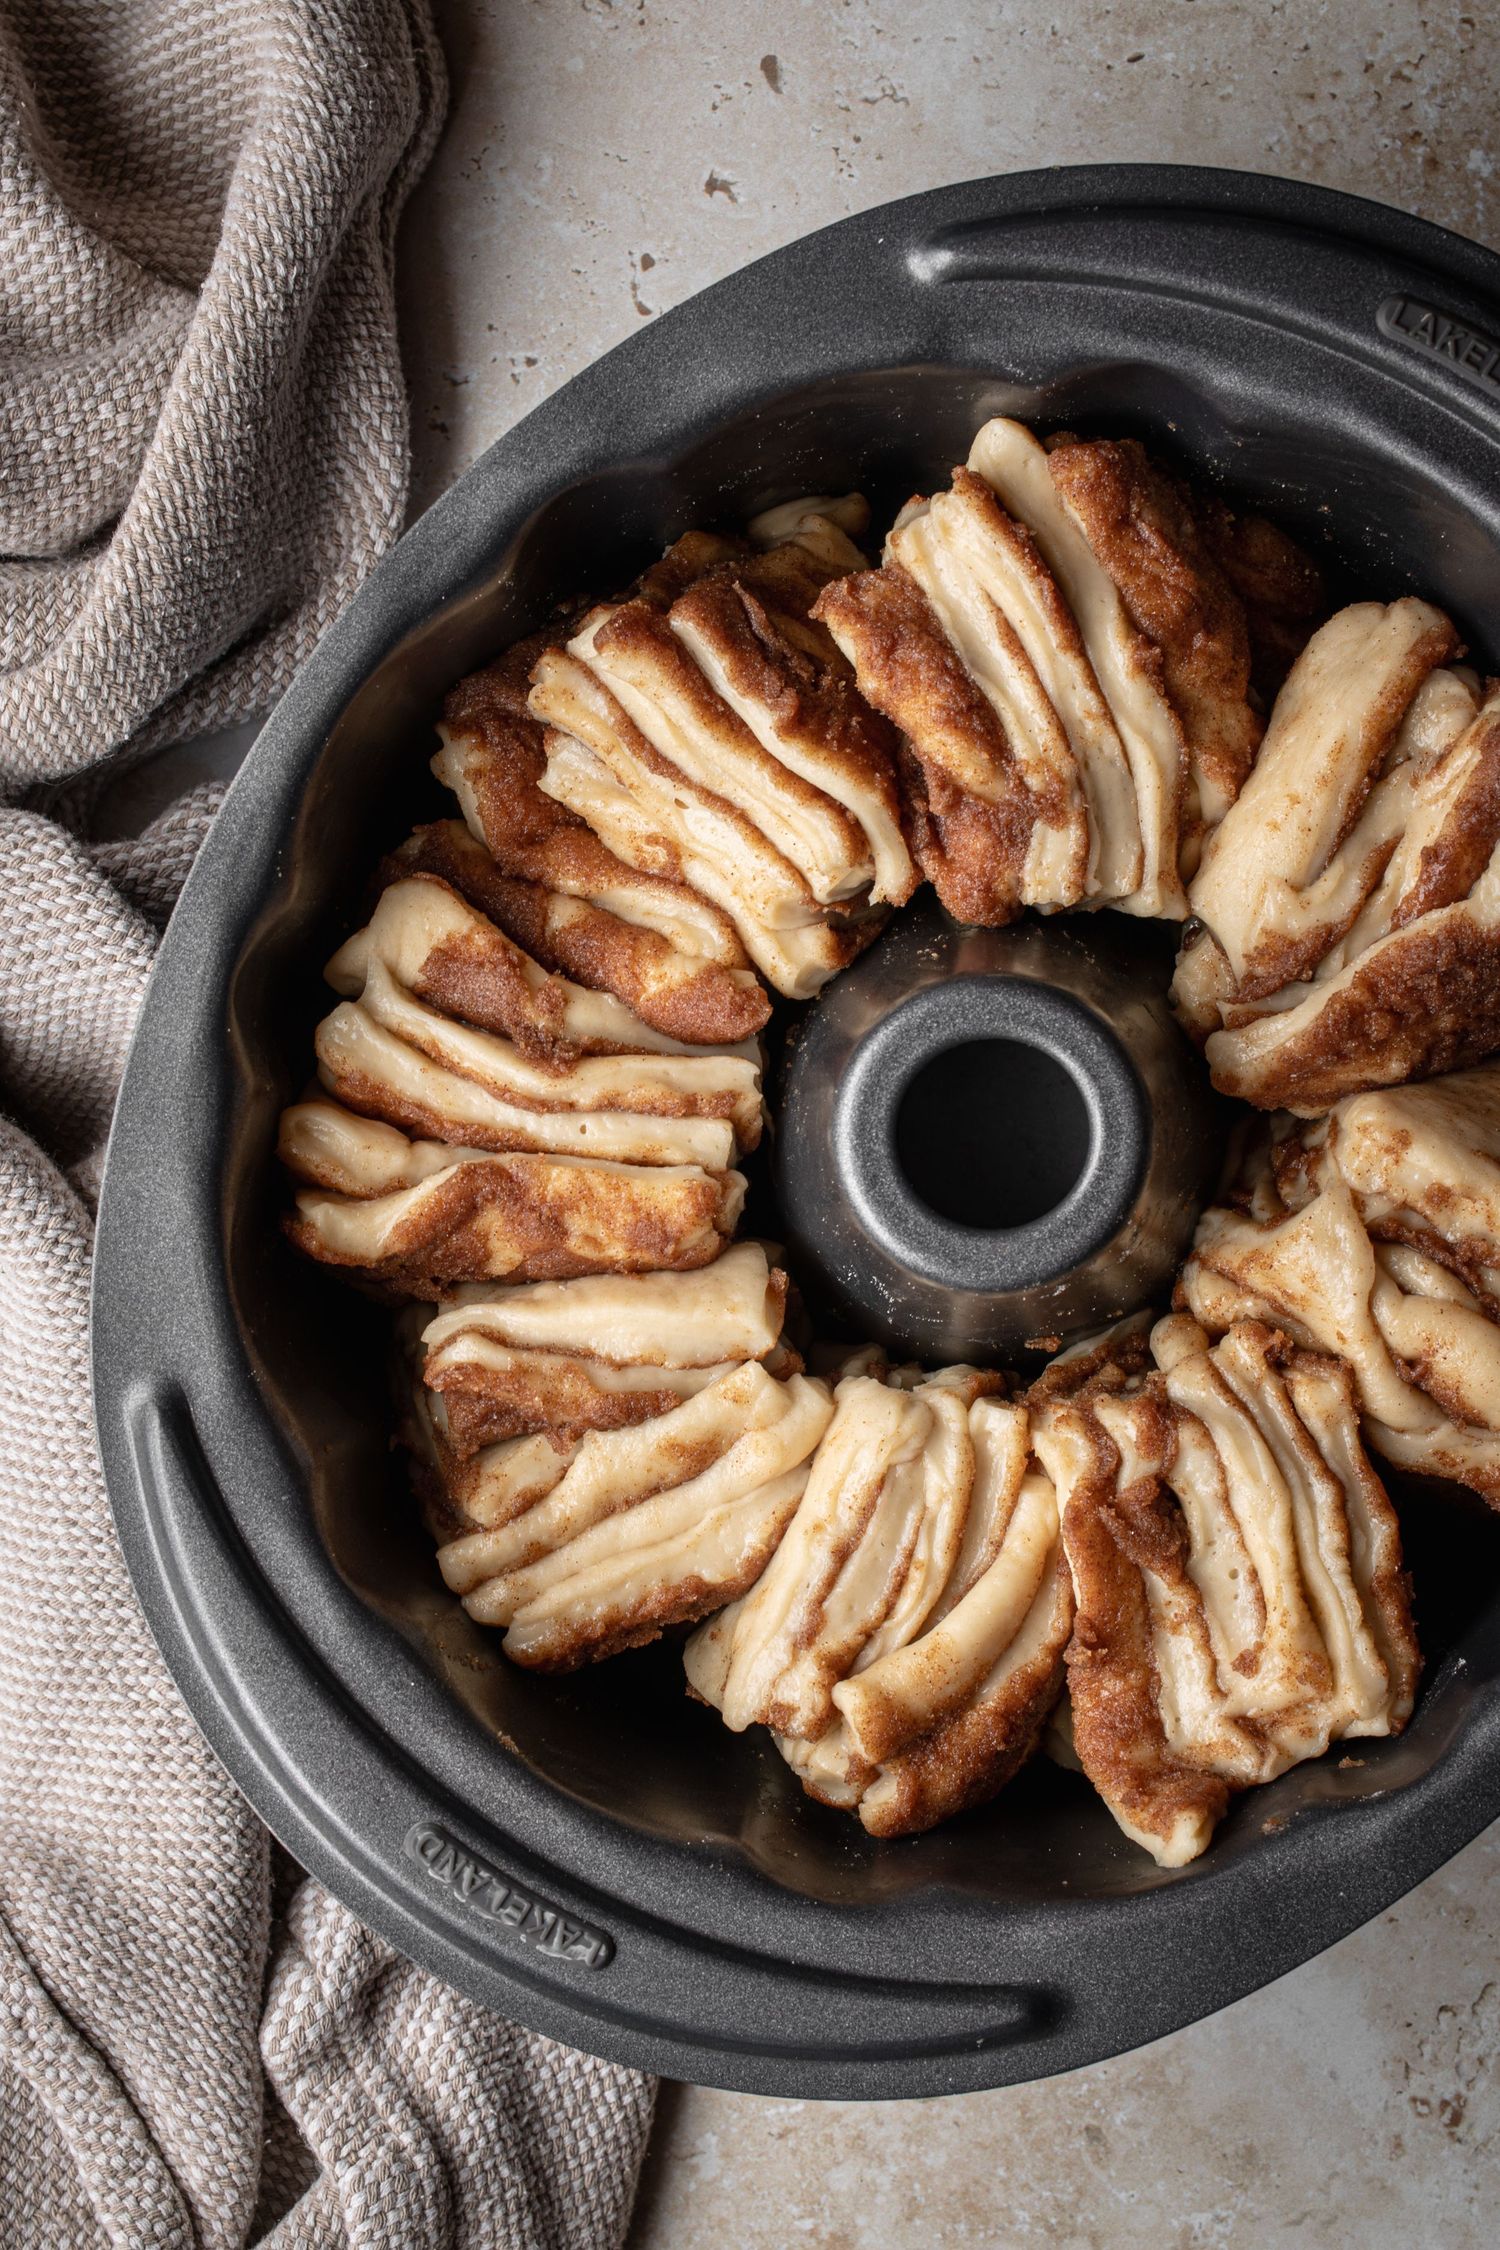
The wreath shape comes together by stacking small, cinnamon-sugar–coated squares of dough and arranging them in a fluted tin. A little unevenness is part of the charm here; those slight variations create crisp, golden edges and a beautifully rustic finish once baked. There’s no need for neatness - the loaf looks all the better for it.
If you happen to have leftovers, they reheat beautifully. Warm a few slices in the oven the next day and the edges turn even crispier while the centre stays pillowy soft. As a bonus, your kitchen will be filled once again with that sweet, comforting cinnamon aroma.
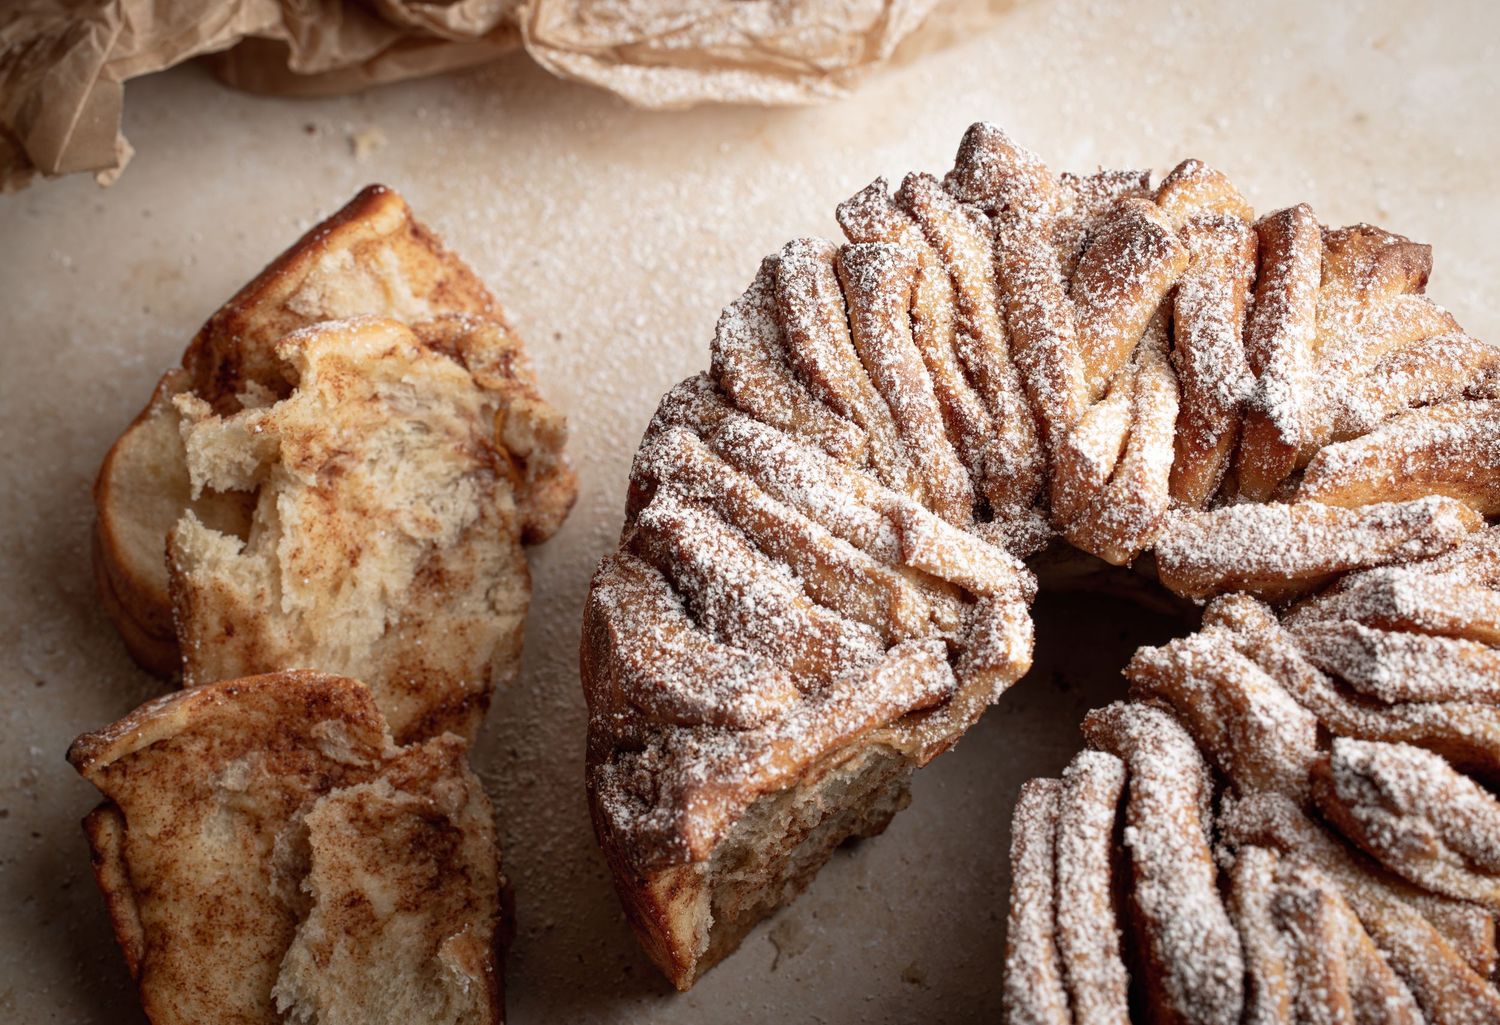
Sweet Cinnamon Tear-And-Share Bread
Prep time: 40 minutes (hands on). Proving time: 2.5 hours. Bake time: 35 minutes.
Difficulty: Everyday bake.
INGREDIENTS
For the dough:
500g strong white bread flour
7g yeast
2 tsp sea salt
75g caster sugar
300ml milk
50g unsalted butter
1 egg
1 tsp vanilla extract
For the filling:
75g butter, softened
120g soft brown sugar
1 1/2 tbsp ground cinnamon
Icing sugar, for dusting
Method
Step 1: To make the dough, first gently heat the milk and butter together in a small saucepan until the butter melts. Set aside.
Step 2: Tip the flour into the bowl of a stand mixer fitted with a dough hook (or a large mixing bowl if you are kneading the dough by hand). Add the yeast to one side of the bowl and the salt and sugar to the other side and mix using a spoon or spatula. Add the warmed milk and butter, along with the vanilla and egg, and run the mixer on a medium speed for 8-10 minutes, until the dough is smooth. If you are kneading by hand, this may take a bit longer.
Step 3: Place the dough in a large, lightly oiled bowl and cover. Leave it to rise until doubled in size - around 2 hours.
Step 4: To make the filling, mix all the ingredients together in a small bowl until well combined.
Step 5: Turn out the risen dough onto a lightly floured surface and cut into 2 even sized pieces. Set one aside. Take the other piece and roll it into a large rectangle approximately 45 x 30 cm in size. Keep your surface lightly floured to stop it from sticking.
Step 6: Spread half the filling over the rolled out dough, going all the way to the edges. Using a pizza cutter or a sharp knife, cut it into 24 squares - 4 rows of 6. Try to keep them roughly the same size, but don’t worry if they’re a little uneven.
Step 7: Place the squares one on top of the other with the filling facing upward, making 4 stacks of 6. Place each stack standing upright in the fluted cake tin, filling half of the tin.
Step 8: Roll out the second piece of dough, spread over the filling and slice and stack as you did previously. Place the remaining stacks in the tin, which should now be pretty full with dough slices. Don’t worry if they don’t look even or are falling over a bit.
Step 9: Cover the tin with a tea towel and leave to prove at room temperature for 45 - 50 minutes. Preheat the oven to 170°C (340°F).
Step 10: Bake for 30-35 minutes, until well risen and golden brown. Remove from the oven and leave to cool in the tin for 10 minutes before turning out.
Step 11: Dust with icing sugar and serve warm.